This work is licensed under a
Creative Commons Attribution-ShareAlike 4.0 International License

CLion is an IDE for C from the makers of the Java IDE IntelliJ IDEA.
It is available for macOS, Windows, and Linux. It is a commercial product, but there’s a 30-day free trial and special offers for students, educators, and others. It worked very well in my quick testing.
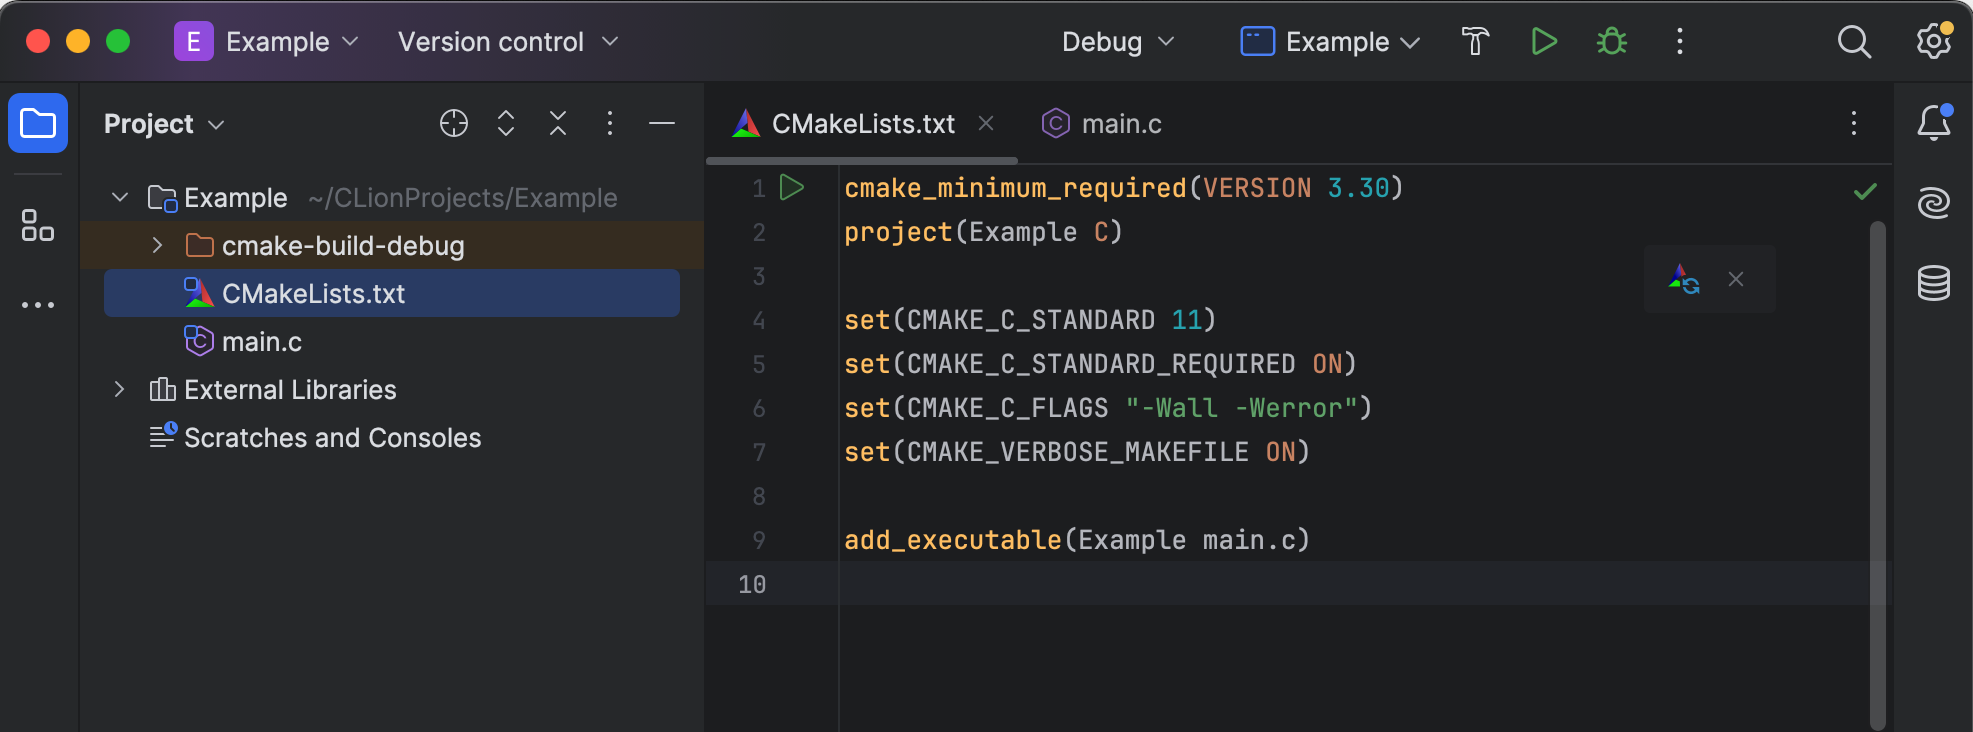
When you create a C project, CLion will create a file named “CMakeLists.txt” for you, as well as an initial source file (“main.c”).
Assuming that you selected the C11 standard when you created the project, CMakeLists.txt should contain the following line already:
set(CMAKE_C_STANDARD 11)
Add the following to CMakeLists.txt:
    set(CMAKE_C_STANDARD_REQUIRED ON)
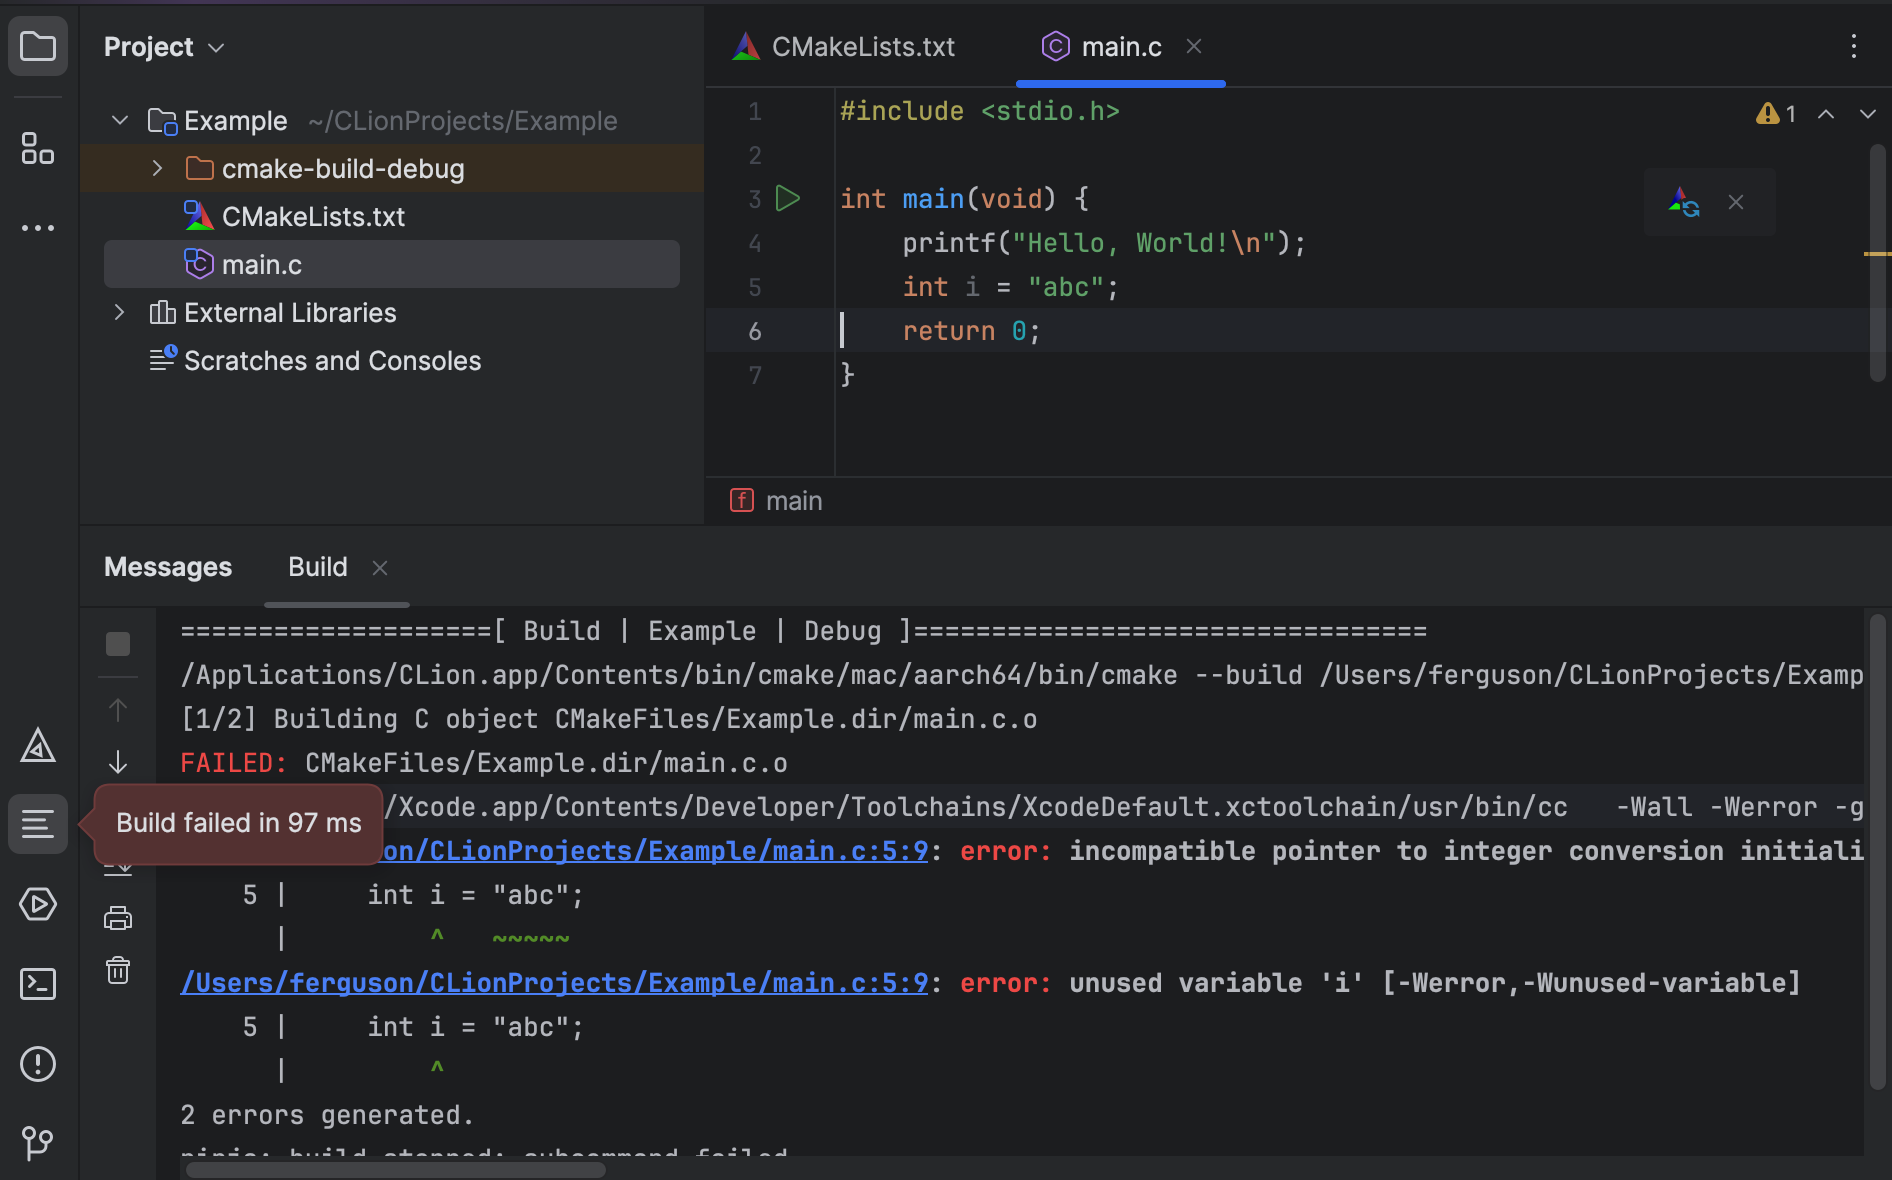
    set(CMAKE_C_FLAGS "-Wall -Werror")
    set(CMAKE_VERBOSE_MAKEFILE ON)
Setting CMAKE_C_STANDARD_REQUIRED to ON means CLion will tell you if your compiler can’t do that rather than fall back on something else. (CMake documentation)
Setting CMAKE_C_FLAGS adds the required compiler options for CSC173. You might consider also adding -Wextra and -pedantic. You might be able to slip -std=c11 in there but I didn’t check that it would appear in the right place. (CMake documentation)
Setting CMAKE_VERBOSE_MAKEFILE to ON means that CLion will show you the commands that it is using to build your project. This might help you if something doesn’t work, and anyway it’s a good way to learn. (CMake documentation)
The default CMakeLists.txt will use add_executable to build an executable with same name as the project from the one source file. Just change the first argument to change the name of the executable.
For example, to build an executable named hello instead of whatever your project is called:
add_executable(hello main.c)
BTW: You can rename the .c file using File > Rename. CLion will update your CMakeLists.txt to reflect the change.


