Start: Monday, March 23, 2020 Due: Friday, March 27, 2020. Email writeup to Prof RC. Post a picture of your objects to the FB Constructors Group.
By now, as noted in the email last week, you should have acquired a few tools and materials. To reiterate, these include the following:
This lab is intended to develop skill in cutting, gluing, and fabricating components from matboard. You will need these skills to construct your robot. In your work, try to be as neat and precise as possible. Keep square parts square, right angles right, parallel components parallel. Be as accurate as possible when cutting the matboard. With a bit of care, it is possible to stay within 1/32 to 1/64 of an inch.
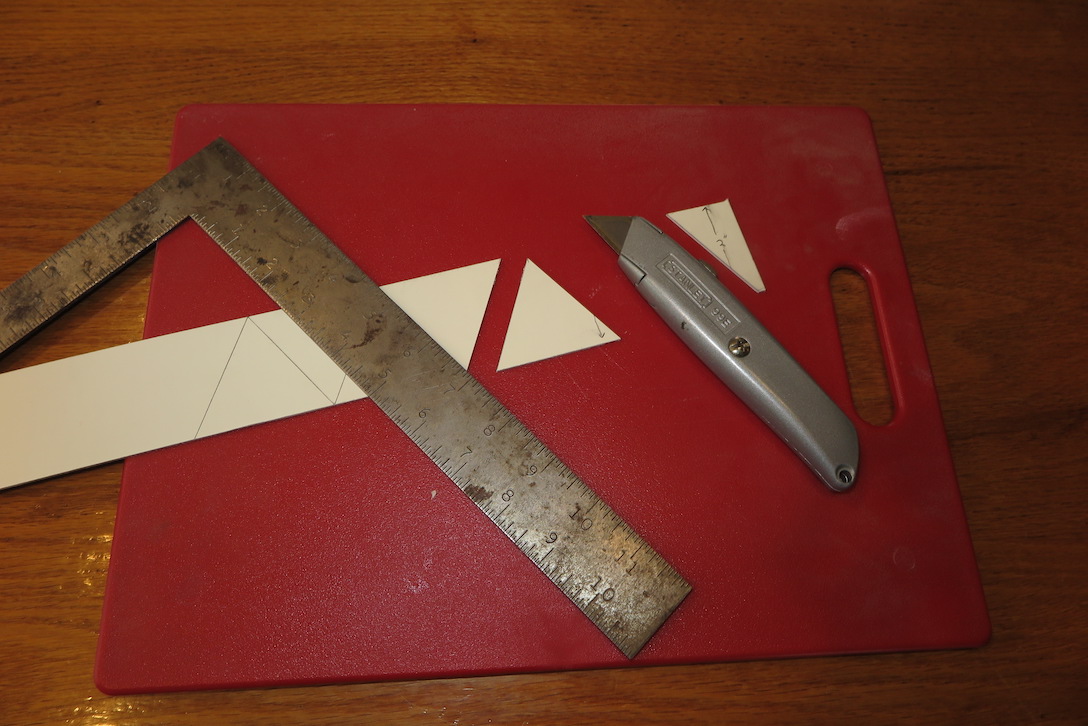
First, you need a surface to cut on. It must be flat, relatively firm, but soft enough that it will not damage your blade, and longer than the longest cut you will make. An old wooden or plastic cutting board is ideal. If wood, make sure your cuts are made across the grain. If you cut in the direction of the grain, it will tend to catch the blade of your utility knife and pull it out of the direction you want to go. You can also use an extra piece of matboard (or better two stacked on top of each other) Don't cut directly on a nice tabletop (you will scar it irreparably) or on a countertop (most counter materials will quickly dull your blade while being damaged themselves).
To cut a straight line, first mark it lightly with a pencil and straightedge. Then lay your cutting guide (e.g. a heavy metal ruler or square) along the line. If needed (i.e. you are working on a small piece), support the ends of your guide with scraps of matboard so that it lies flat. Put pressure on the cutting guide with your non-cutting hand, being sure that no fingers are in the path of the knife. Make a first, scoring cut keeping the knife pressed firmly against the guide, being sure that the blade is vertical (unless you are attempting a bevel cut - an advanced skill). Guard against any tendency of the blade to wander away from the guide edge. Your first cut will probably not go all the way through the matboard, so make a second pass along the exact same path. You should take some practice cuts before attempting to cut components you are planning to use.
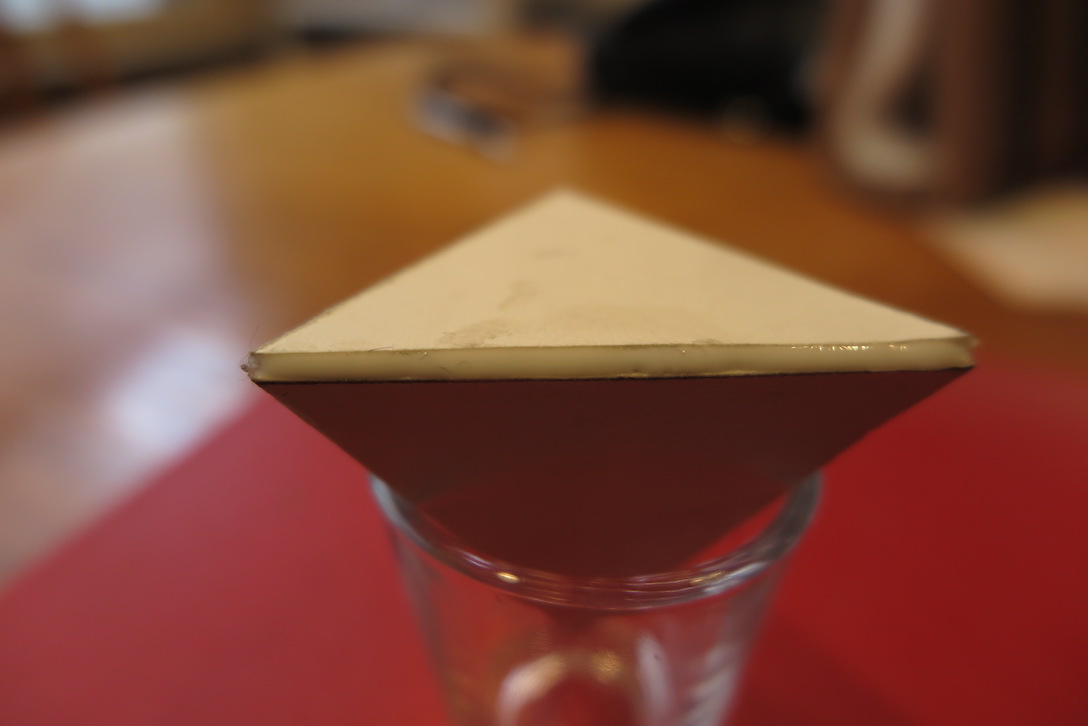
When you glue edges, you want to make sure make sure the entire edge is in contact, and glued. That said, do not use excess superglue, and do not use it to fill gaps. Superglue has no useful strength in such situations. A lot of your bonds will be a straight edge glued at right angles to a surface. A good approach in this case is to apply a thin line of superglue along the edge. Place one corner of the glued edge in its desired location, and then lower the strip angle to position the second corner. The rest of the edge goes right where it should. Superglue grabs fast, and you generally have little or no opportunity to reposition things once an edge has been placed in contact. You do have a little flexibility to make sure the attachment is vertical. Hold things together for about 30 seconds, and pieces will stay in place. You should wait 15 minutes before applying operational loads.
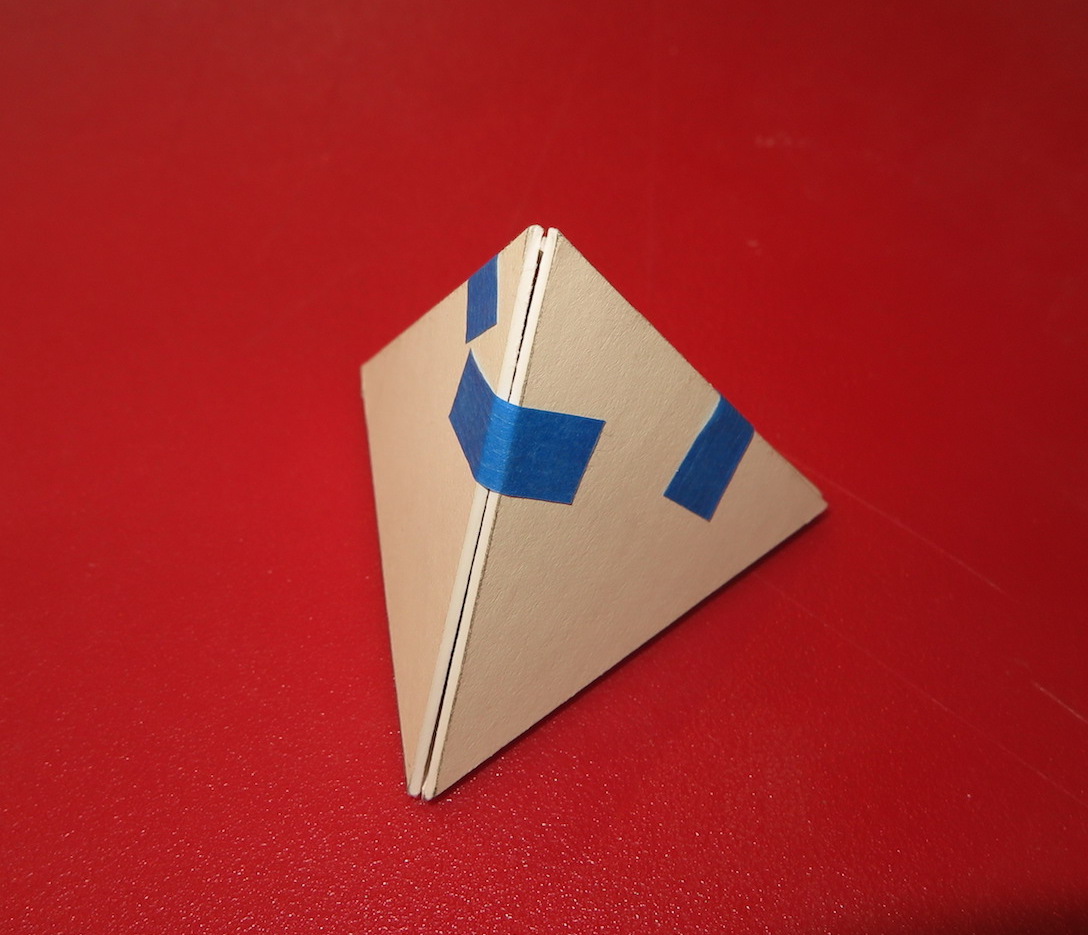
Glue joints can be strengthened and stabilized by applying a white-glue "fillet" in the angle between joined pieces on one or both sides (if accessible). This will take an hour to set up, so it's best to do it as a final procedure. The image above shows such a fillet in the open angle between the faces of a tetrahedron. In this case it is a necessary part of the construction because there is no edge to face junction where a strong superglue connection can be made.
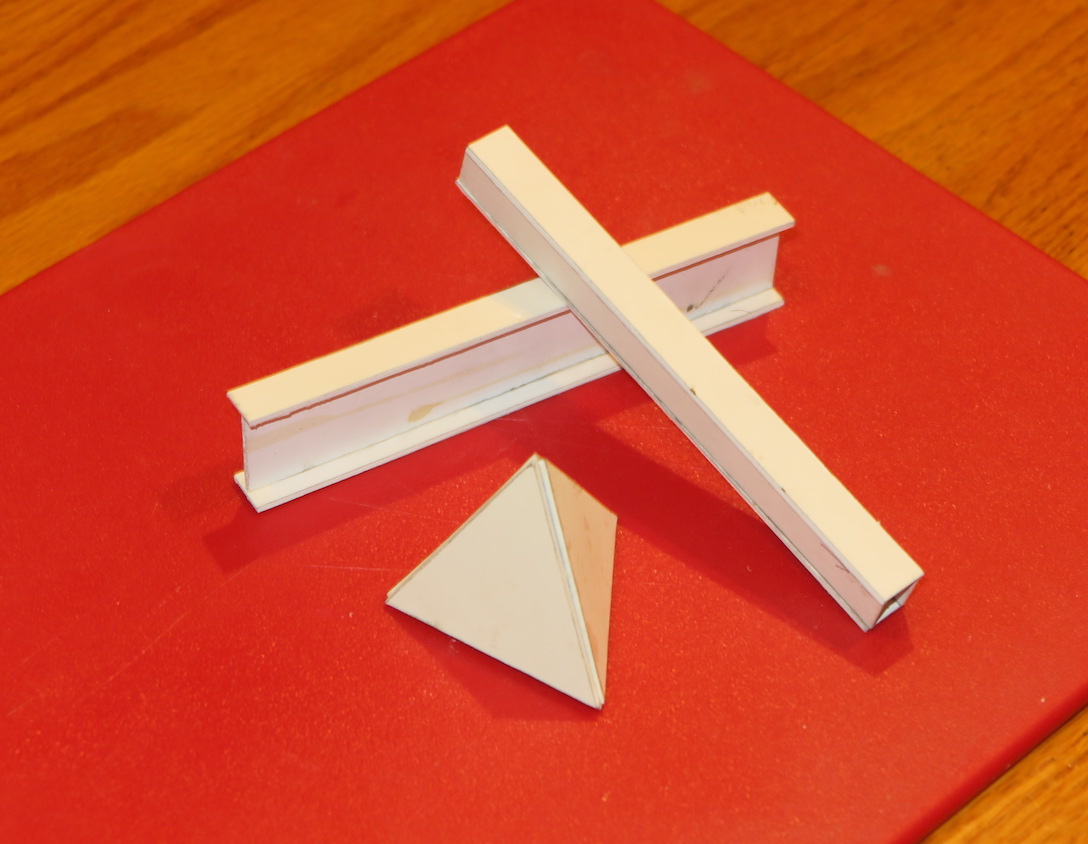
Make the following three objects
Cut 4 strips of matboard, each 1/2" wide by 6" long. Assemble them into a box beam by gluing two side pieces on top of a base, and then gluing on a top.
Cut 2 strips of matboard 1/2" wide by 6" long, and another 1" with by 6" long. Glue the 1" wide strip on top of and centered on one of the 1/2" strips. Then glue the other 1/2" strip on top to make an I-beam. Note this uses the same total amount of material as the box beam.
Try flexing, bending, and twisting your beams in various ways to get a feel for which ways they are strong and stiff in, and which ways they are weak and flexible. This will be useful knowledge when you design your robot, and need components to be strong, stiff, and light.
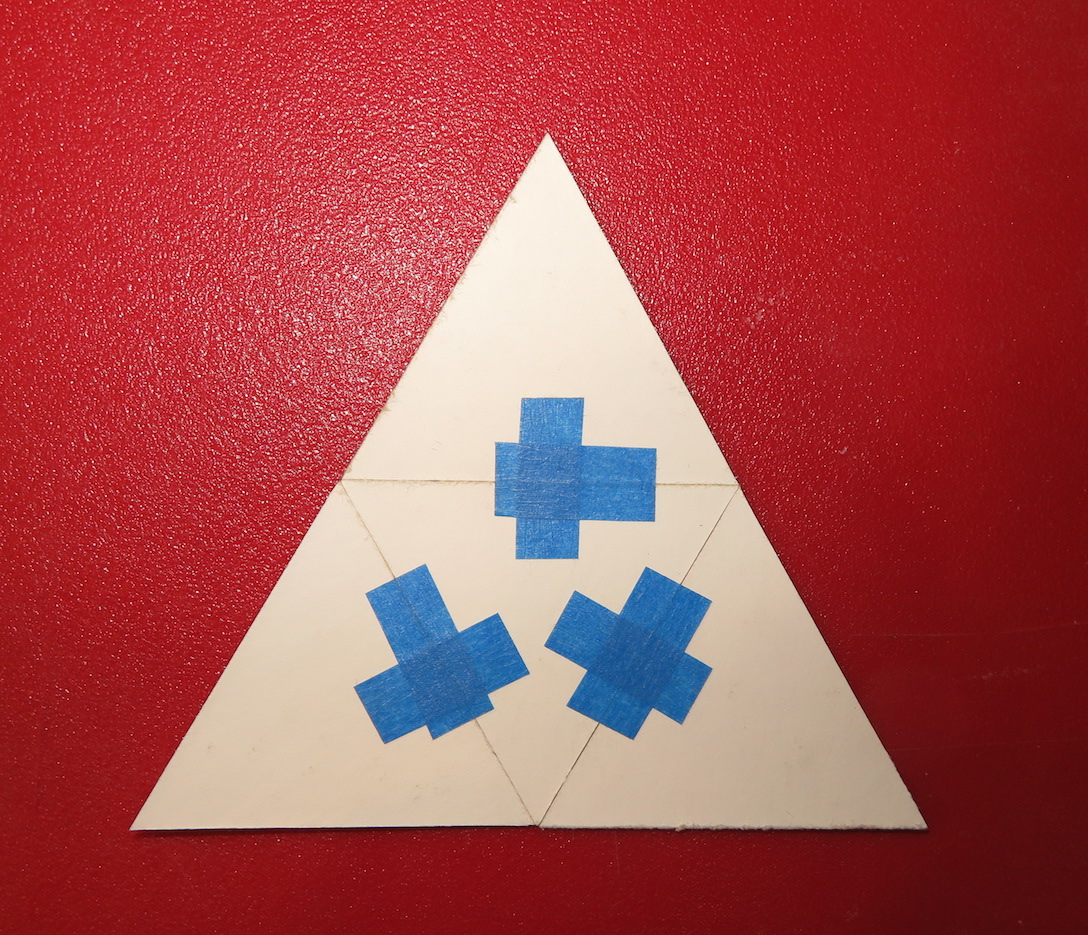
Cut 4, identical, equilateral triangles 2" high. This is easiest to do by laying out 60 degree angles on a 2" wide strip. Assemble them into a tetrahedron. It may be helpful to use masking tape to hold the shape together before gluing, and then first using drops of superglue and a toothpick on the accessible parts of the joints to initially tack the parts in place. The full seam can be glued once the initial tack has dried and any external tape removed. Note that the joints on this shape have an open angle in them (unless you make a bevel cut). This angle can be filled with a "fillet" white glue to strengthen the joint and make it look neater.
If you like your tetrahedron, feel free to make a cube, and octahedron, and icosahedron, or even a dodecahedron (this requires cutting pentagons). It would be good practice.