Centibot: A Modular Legged Platform
|
|
| Constructors | Construction (click for video) |

Cover from Heinlein's "Farmer in the Sky"
Image source
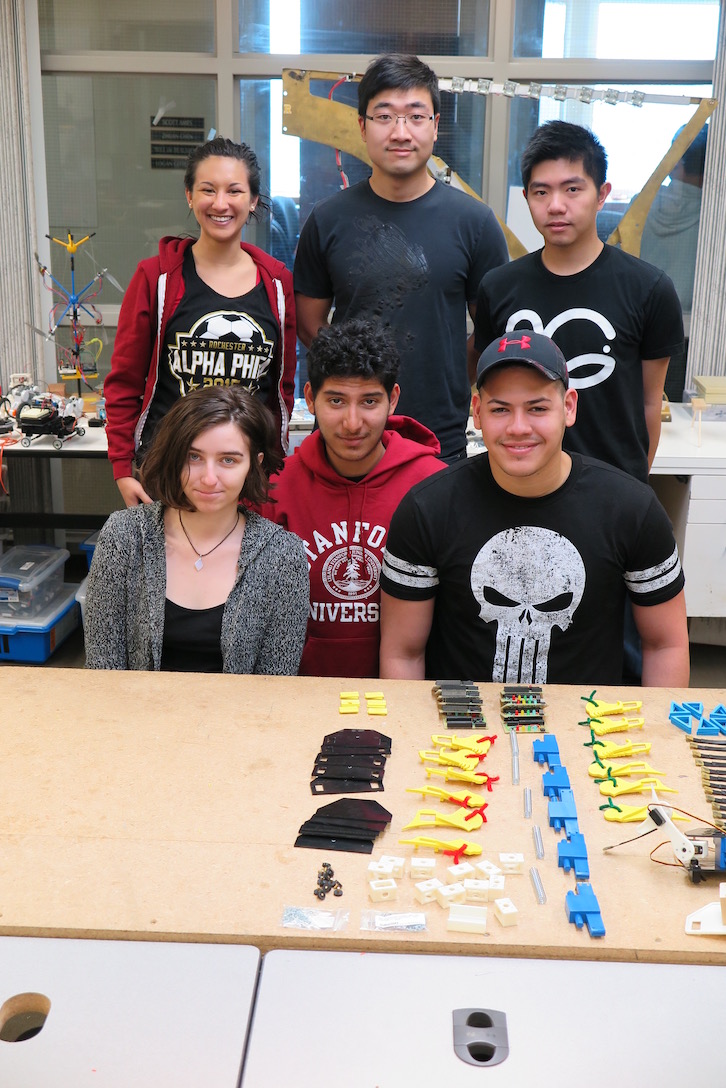
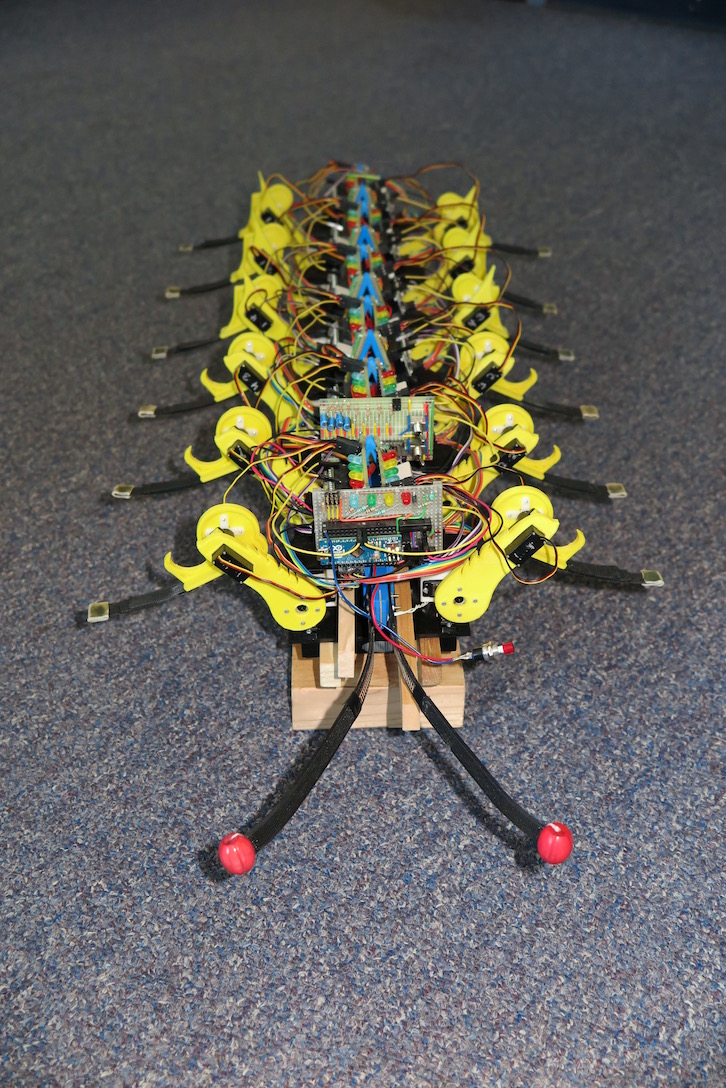
Centibot is a modular legged transport platform designed and constructed by a team of undergrads led by prof Randal Nelson, at the University of Rochester in spring 2016 as the class project for Computer Science 230: Robot Construction. The device was loosely inspired by the prof's childhood memory of an alien artifact found on Ganymede described in Robert A. Heinlein's 1950 novel "Farmer in the Sky".
The basic idea is for a legged transport system to which modules can be added or removed without the need to alter central programming, somewhat as a car can be added to a freight train, or a mule added to pack train. In this case the basic modules are segments each with one right and one left leg. There is a specialized head module containing additional sensory components and a "brain" that provides top-level guidance and overall coordination.
Each leg is driven by a dedicated micro-controller that handles real-time trajectory generation, coordination between leg motors, and overall timing. This architecture is reminiscent of ganglion organization in biological centipedes. Locomotion is via a wave gait, with each leg deriving its timing from the leg in front and on the same side. Delay is a function of speed and gait control signals broadcast globally from the brain. Steering is accomplished by varying the step length on one side or the other, again on the basis of a broadcast control signal. Other broadcast signals direct the platform to stop, stand, rest, and walk forward or in reverse.
The combination of a wave gait and broadcast control signals frees the central controller (the brain) from having to individually control each leg and joint during ordinary operation. This in turn, allows segments to be added or removed without the central controller having to modify its operation. More importantly, it eliminates constraints imposed by the limited number of specialized motor-control outputs available in simple micro-controllers, allowing the system to be scaled without resorting to a massive brain. Since each segment follows in the steps of the one in front, most navigation can be accomplished just by guiding the leading segment. Some situations might require the central controller to know the length of the system, but this is a simpler matter than having to individually control new legs.
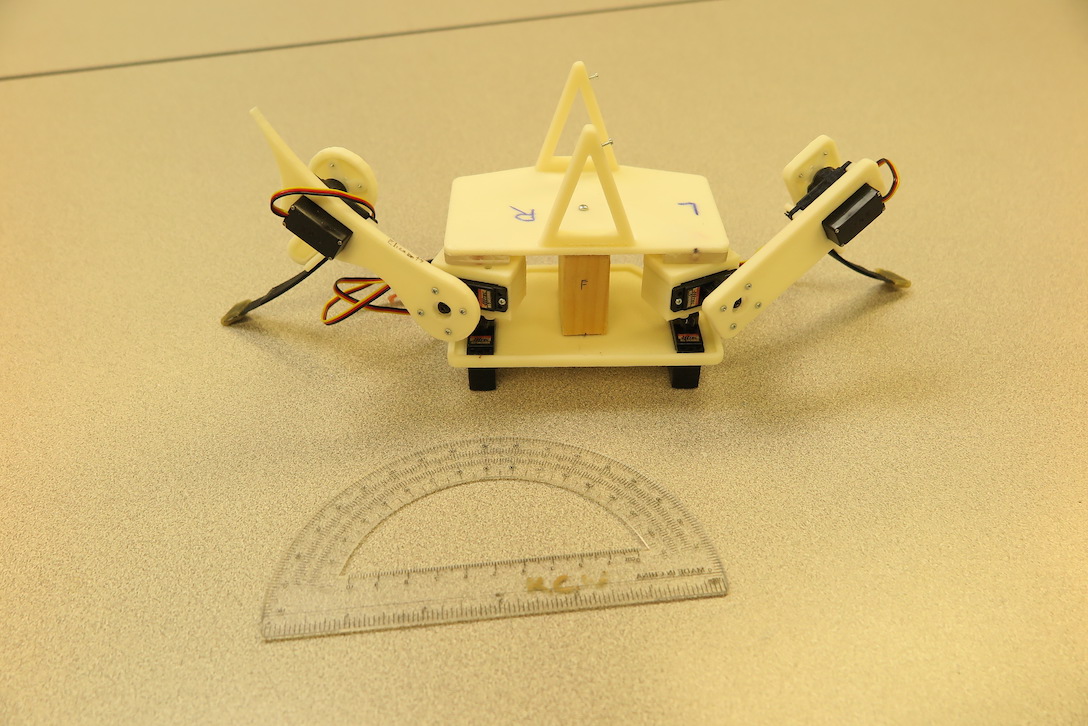
Prototype Centibot body segment with two legs
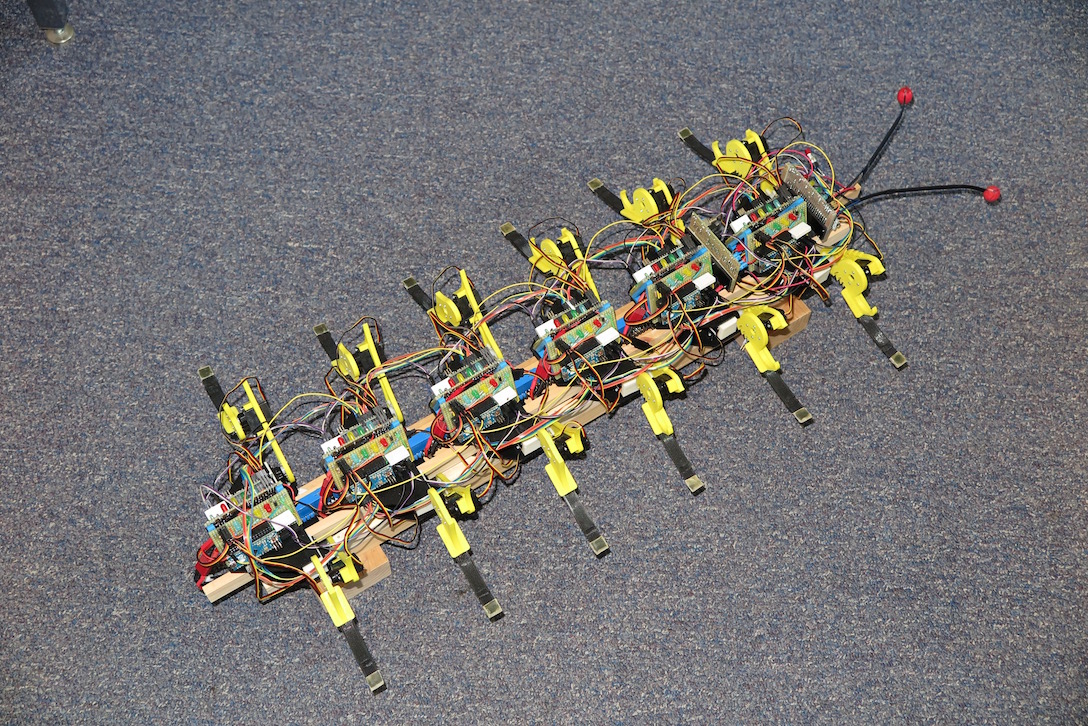
Six segment Centibot with all processors, batteries, and wiring.

Real (giant red-headed) Centipede
Image source
The basic mechanical design reflects some aspects of living centipedes, order Chilopoda. Like a centipede, the body consists of a series of segments, each with one pair of legs. Some thought was given to using 4-legged segments, like those of a millipede, but 2-legged segments simplified both hardware and software design.
The segments are attached to one another by a compliant linkage composed of a hinge and spring that allows relative rotation perpendicular to the ground, while restricting other freedoms. Restricting rotation to this single axis is necessary to prevent a segment from sagging to one side when a leg is lifted. Actuating the connection between segments would allow more flexible articulation, as displayed by living centipedes, but was judged to be an unnecessary complication for this project. The rotation in our design permits the platform to be curved and steered flexibly in the ground plane while allowing adjacent segments to support the axial torque that arises when a leg is raised.
In addition to a pair of legs, each segment also supports two micro-controller boards, one for each leg, and a local power supply, consisting of a 7.4V, high-current lithium-ion battery. The first two segments, between them, also support a "brain" micro-controller board that provides central coordination, flex-sensing feelers, and an auxiliary electronics board containing analog circuitry for conditioning the sensor input and broadcast analog signals. This hardware was distributed over two segments because putting it all on a single head added too much mass and bulk.
In legged locomotion, a leg during its support or power phase, must maintain stable contact with a point on the ground while the body moves past. Relative to the body, the leg tip follows a trajectory in three-dimensional space (often approximately linear). During the recovery phase, the tip must follow some other (off the ground) trajectory. A leg with three, independent, powered degrees of freedom can move its tip along an arbitrary 3-dimensional trajectory (within bounds). It is possible, with clever mechanical linkages, to execute a walking motion with fewer powered freedoms, but three per leg is the minimum for any interesting flexibility. Most animal legs have more than 3 degrees of freedom (the human leg has 7, including the ankle) allowing orientation as well as position of a foot to be controlled during a step.
To obtain good flexibility with modest complexity, Centibot's legs were designed with three degrees of freedom powered by three RC standard hobby servos. Architecturally, the leg consists of a 2-degree-of-freedom "hip" supporting a "femur" and "tibia" linked by a 1-DOF "knee". To provide additional robustness, and the ability to operate on uneven surfaces without high-precision control, the final "tibia" segment was made of a flexible material, which maintains a sprung curve when in contact with the ground. Real arthropod legs are more complex, generally having the functional equivalent of a 3-DOF "hip" followed by one or two "knee-like" joints and a variable number of "ankle" or "foot-like" segments that provide flexibility in contact with the ground.
Legged locomotion is usually built around cyclical movement of the legs. Each leg has a basic cycle that repeats, with small variations to adjust for changes in direction, speed, and terrain. The cycles for each leg have the same period, and a fixed phase with respect to each other. A particular combination of base cycle trajectories and their phasing is called a gait . Most mammals and some arthropods can employ several different gaits, selected as the situation requires on the basis of tradeoffs between speed, efficiency, and stability. Examples of legged locomotion that are strongly non-cyclical are known in nature - for instance the uneven bounding a fleeing jackrabbit, a mountain goat on a cliff, or a brachiating gibbon, but even these seem derived from cyclical foundations.
A typical step cycle can be divided into two phases: a support (or power or stance) phase during which the leg is in contact with the ground, supporting the animal (or robot) and helping push it in the direction it is moving; and a recovery (or swing) phase, during which the leg is lifted from the ground and moved to a new foothold. Gaits in which a cycle contains multiple support and recovery elements are possible (for example, human skipping) but are rarely observed in nature.
To simplify control, Centibot uses (semi) statically-stable wave gaits. Statically-stable means that at any point in its movement, the platform position can be frozen and it will not tip over. The "semi" qualification refers to the fact that the platform can still tip over due to momentum if it moving rapidly and the legs are suddenly stopped. The four-legged gaits employed by vertebrates are not statically stable; however those used by small, multi-legged invertebrates such as insects, spiders, and centipedes often are. A wave gait is one in which phase of a given leg is derived by a simple delay to the phase of an adjacent leg on the same side. The term is usually applied to many-legged creatures, but can be applied even to quadrupeds.
For four or more segments (8 or more legs), wave gaits are statically stable over a wide variation of parameters. Statically stable wave gaits exist for 6, and even 4 legs, but the parameters must be carefully tuned, especially for the 4-legged case. Centibot's design assumes at least four segments.
The actual gait used in the 6-segment Centibot shown in the video is a 4-cycle, anti-phase, backwards-propagating wave gait with a 3-to-1 support-to-recovery ratio (duty factor 75%). 4-cycle means that the cycle is timed so that it repeats every 4 legs along a side. Anti-phase means that legs on opposite sides of a segment are 180 degrees out of phase with each other. Backwards-propagating means that the start of a step appears to propagate from front (head) to back. 3-to-1 support-to-recovery means that the ground contact support (power) phase of the step lasts 3 times as long as the recovery phase. This keeps 3/4 of the legs on the ground at all times, which helps limit the torques in the (underpowered) leg joints, and increases stability as well.
The leg trajectory during the support phase moves the terminal foot point relative to the body along a constant-velocity, linear trajectory parallel to the body axis. Recovery involves lifting the leg, moving it forward, and then lowering it to start the next step when a trigger signal is received. Trajectory generation and timing is handled by the microprocessor ("ganglion") for that leg. When all legs execute this sequence, the body moves straight forward along its axis with no introduced strain or slip between the feet and the ground.
Modest turns can be accomplished simply by changing the step size on one side. This does introduce strain, but it is absorbed by the compliant design elements of the body and tibia sufficiently to permit ordinary steering. Making very sharp turns, or executing trajectories that required the body to assume an "S" shape needs a different strategy.
Backwards motion is accomplished by reversing the movement of the legs. Interestingly, the wave can still be backwards-propagating, which means that the trigger channel does not have to be bi-directional.
The electrical system of Centibot consists of the RC-standard servo units (which are also part of the mechanical system) the Arduino-based leg-control ganglia and their support boards, the Arduino-based central control system (brain) and its support board, an auxiliary analog signal-processing board, the power supply system (segment batteries etc.), and the connecting wiring.
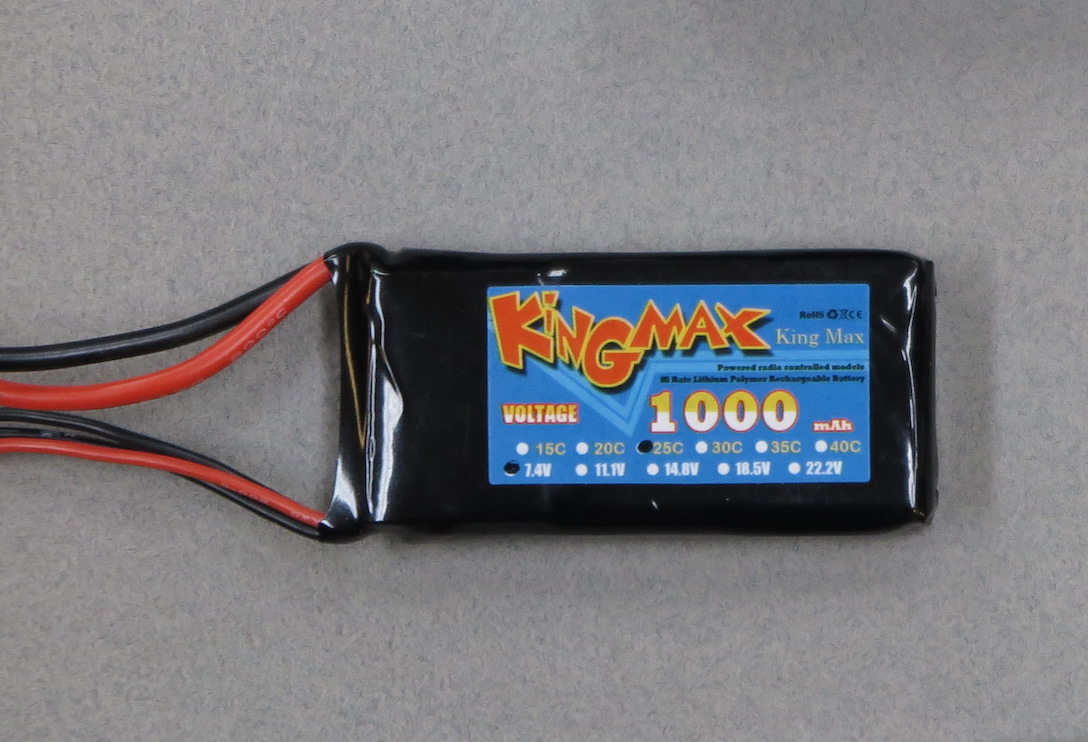
Centibot battery
Power is supplled by 7.4V 1000mAh lithium-polymer (LiPo) batteries, one per segment, since 36 motors (six segments worth) all running together pull more power than can be supplied by a single unit of reasonable size. All batteries are connected to a common ground, but the power supplies for each segment are independent (the positive terminals are not linked). Linking the power systems directly would require heavy wires running between the segments, and could also allow an electrical fault, such as a short, to damage all the power supplies. A more sophisticated interconnect could allow power to be shared, but was judged unnecessary for this project. Both the Arduino boards and the servos can be run on 7.4V, so no auxiliary voltage regulation is needed.
It is desirable to have some way of switching the power for each segment so that components (especially motors) do not turn on as soon as the battery is plugged in. In fact, because the motors can produce unpredictable behavior if powered up in the absence of a control signal, it should be possible to separately switch power to the controller boards and the motors. Using two manual switches per segment is awkward. Instead, each leg-control board was equipped with two relays (5V, 3A) that switched power separately to the micro-controller and to the leg motors. All the board relays were connected to a single broadcast circuit powered by a manual switch (on segment 2), and all the motor relays to another.
Startup procedure is to throw the processor-on switch, wait for the processors to initialize and display ready status (via signal LEDs on the boards), and then throw the motor-on switch. For shutdown, the motors are de-energized first, then the processors are shut off. Turning off the processors first causes potentially damaging, spasmodic movements to occur, since the micro-controllers can be interrupted in the middle of sending a position control pulse, resulting in the servo receiving a random position. We did this accidentally once and broke a couple of servos when the bot spasmed into a tangled, heap that put excessive gravitational loads on some of the joints. The circuit should be redesigned to prevent the boards from being powered down when the motors are powered.
It also turned out to be necessary to condition the power going to the Arduino boards. Without filtering, motor operation introduced noise that would occasionally cause the supply voltage to dip low enough that the micro-controller would reset or jump to an un-programmed state. Examining the signal on an oscilloscope revealed that the dips, were very short - on the order of 10 us duration. It is unclear what produces the noise - the times seem too short to be due to motor switching. However, inserting a low-pass filter consisting of a 1.8 Ohm resistor and a 47 uF capacitor (characteristic time = 85 us) between the Arduino system and the supply eliminated the problem.
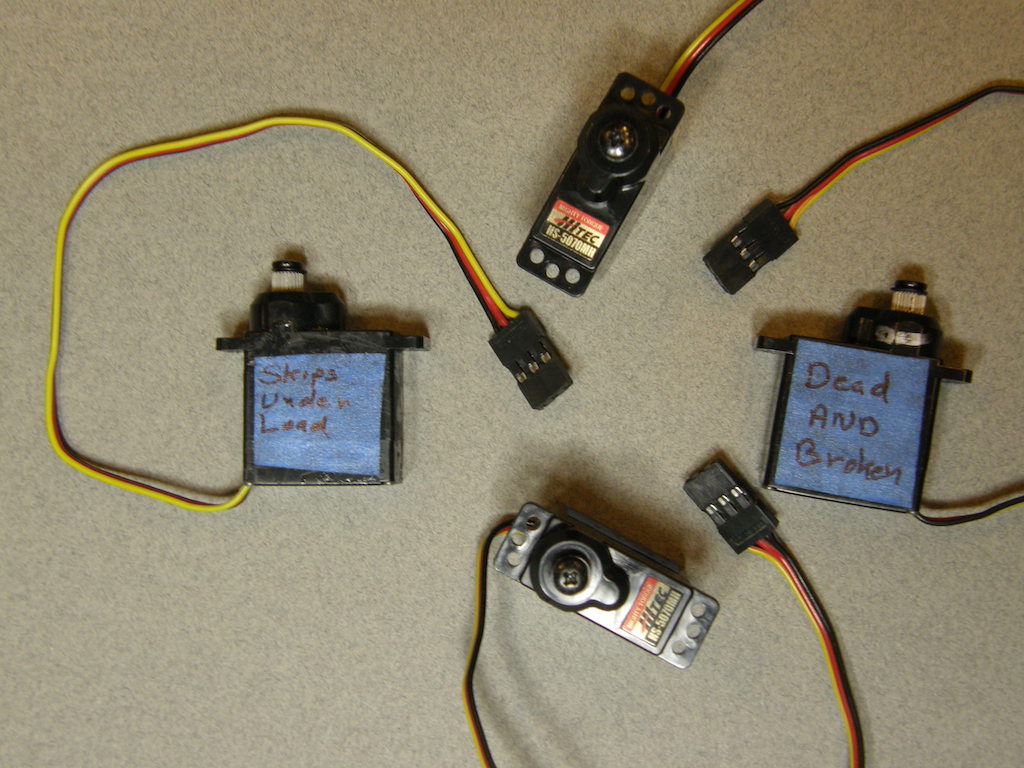
HS-5070 servos destroyed during development
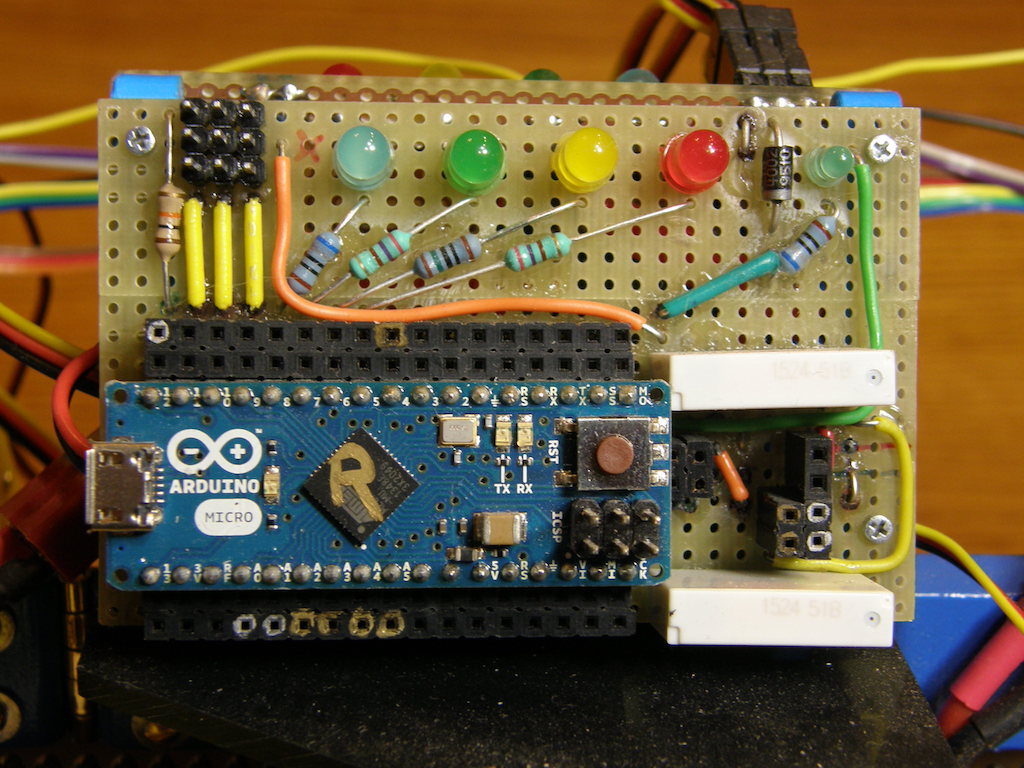
Arduino support board
The leg joints are powered by RC standard hobby servos, which are used in radio control planes and vehicles. These provide positional control with a simple, well supported interface, that is easy to access from an Arduino or raw microcontroller. Specifically, the servos are HiTec HS-5070 micro-sized servos which provide 53 oz-in of torque at 7.4 V. This turned out to be marginal for the weight-supporting component of the hip joint, which should be replaced by a full-sized servo providing at least 2-3 times the torque. A spring inserted in the hip joint to balance the primary gravitational torque allowed walking to be demonstrated even with the under-powered servos.
RC-standard servos have a three-wire connection. Two of the wires are power (red) and ground (black). The third (yellow) takes a PWM (pulse-width-modulation) control signal consisting of a 5V square pulse, nominally between 1000us and 2000us, transmitted approximately 50 times per second. These pulse trains are generated by the Arduino, and encode a desired position. The HS-5070 servos have a command range of 125 degrees, which amounts to 62.5 degrees either side of center (they can be moved farther than this manually). A 1500 us pulse train commands the servo to move to the center of its range. Longer or shorter pulses command positions clockwise or counterclockwise of center at a nominal rate of .083 degrees/us. Experimentally, we found the rate to be closer to .010 degrees/us, and used this value in writing the control programs.
The micro-controllers used for Centibot were Arduino Micros which consist of a Amtel ATmega32U4 micro-controller chip mounted on a miniature PCB (printed circuit board) along with support and interconnect electronics. The units are small (3/4" x 2") lightweight, and have pins for mounting in standard header sockets.
Each leg has a dedicated support board that contains the Arduino controller with sockets for connecting to its terminals, a power conditioning filter, processor and motor power-on relays, 4 LEDs of different colors for displaying diagnostic information and a motor-power LED, a motor freewheel diode to prevent voltage spikes when the motor current is switched, and a power/control pin block for connecting the three leg servos. The board also has a power plug for connecting to the battery.
The support boards were constructed by joining (via super-glued strips underneath) two sections of solderable prototype PCB having traces that duplicate the connections on standard breadboard. These traces were used as much as possible to connect the board components, with soldered jumpers added where necessary. The Arduino plugs into tripled standard header sockets (a 3 x 17 block on each side), which allows broadcast communication wiring to be connected to its terminals using in-out jumpers.
Each board contains nearly 200 soldered connections, so making them is a bit of work. A progressive process, with periodic examination and testing by someone other than the solderer, is recommended.
The same support board and processor used for the leg controllers was used for the central controller/brain unit. The Arduino runs a different program, and the ports are connected differently, but the power conditioning is needed, and the LED indicators are still useful. The motor output pin block is not used in the current design, but could be useful for moving antennae or jaws in a future incarnation.
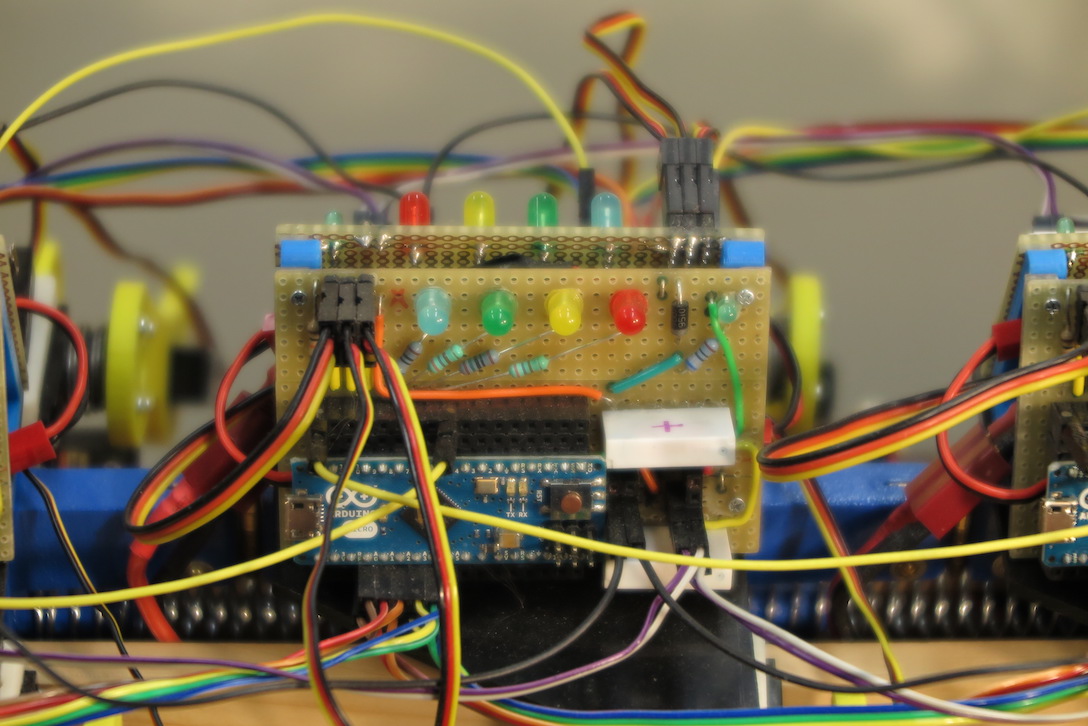
Wired up support board
Each board is connected locally to the battery for the segment it is on. The connection is via a male JST lead soldered to the main power rails on the board. The three servos are plugged into the pin block using their native female leads, which fit standard header pins.
All the boards share a common ground. Ground jumpers run between boards along each side, and the two boards on each segment are connected through the common battery. This creates a ladder distribution, which is very robust against connection failures. Any single connection can be severed without disconnecting the network. There are a few paired failures that will disconnect, but most pairs will not, nor will most triples. In the picture to the right, the black jumpers carry the ground.
There are broadcast circuits activating the relays that switch power to the board and servo. Broadcast circuits run from board to board down each side, and are connected around the last segment, forming a loop that provides redundancy against any single connection failure. Each board has two socket headers connected to each broadcast circuit, allowing the boards to be connected with pluggable jumpers. In the picture, the white and purple leads are the board and servo relays. They are activated by manual toggle switches mounted on segment 2, and powered from its battery.
There are six other broadcast control circuits. Two carry digital signals whose combinations specify one of 4 basic activities (rest, stand, walk forward, walk reverse). The other four carry analog signals that permit speed, and steering to be controlled in various ways. All these connections are made via the 3 x 17 socket blocks in which the Arduino Micro is mounted. The Arduino is configured so that these channels use adjacent ports, so the connections between boards can be made using ribbon jumpers. In the picture, the multi-color cables are the broadcast control jumpers.
Finally, each board has a directional connection to the same-side board on the next segment. This channel is used for implementing the wave gait, and is carried by the yellow jumpers in the picture.
The central controller/brain board provides the broadcast signals. For convenience, the same Arduino ports are used for the ribbon cable connections, though the function is different. There are also ports for input from the antenna/feelers.
Most of the connections to and from the brain are designed to go through the auxiliary board for signal conditioning. The digital broadcasts should have a pull-down resistor, and the analog ones need a low-pass filter to convert the "analog out" from the Arduino, which is actually a PWM signal, to true analog. The auxiliary board also contains support electronics for the feelers, and the toggle switches that connect to the board and power relays.
Not all the auxiliary board connections are actually present in the model depicted by the photographs, since not all the functionality has been turned on.
Copyright © 2016, Randal C. Nelson